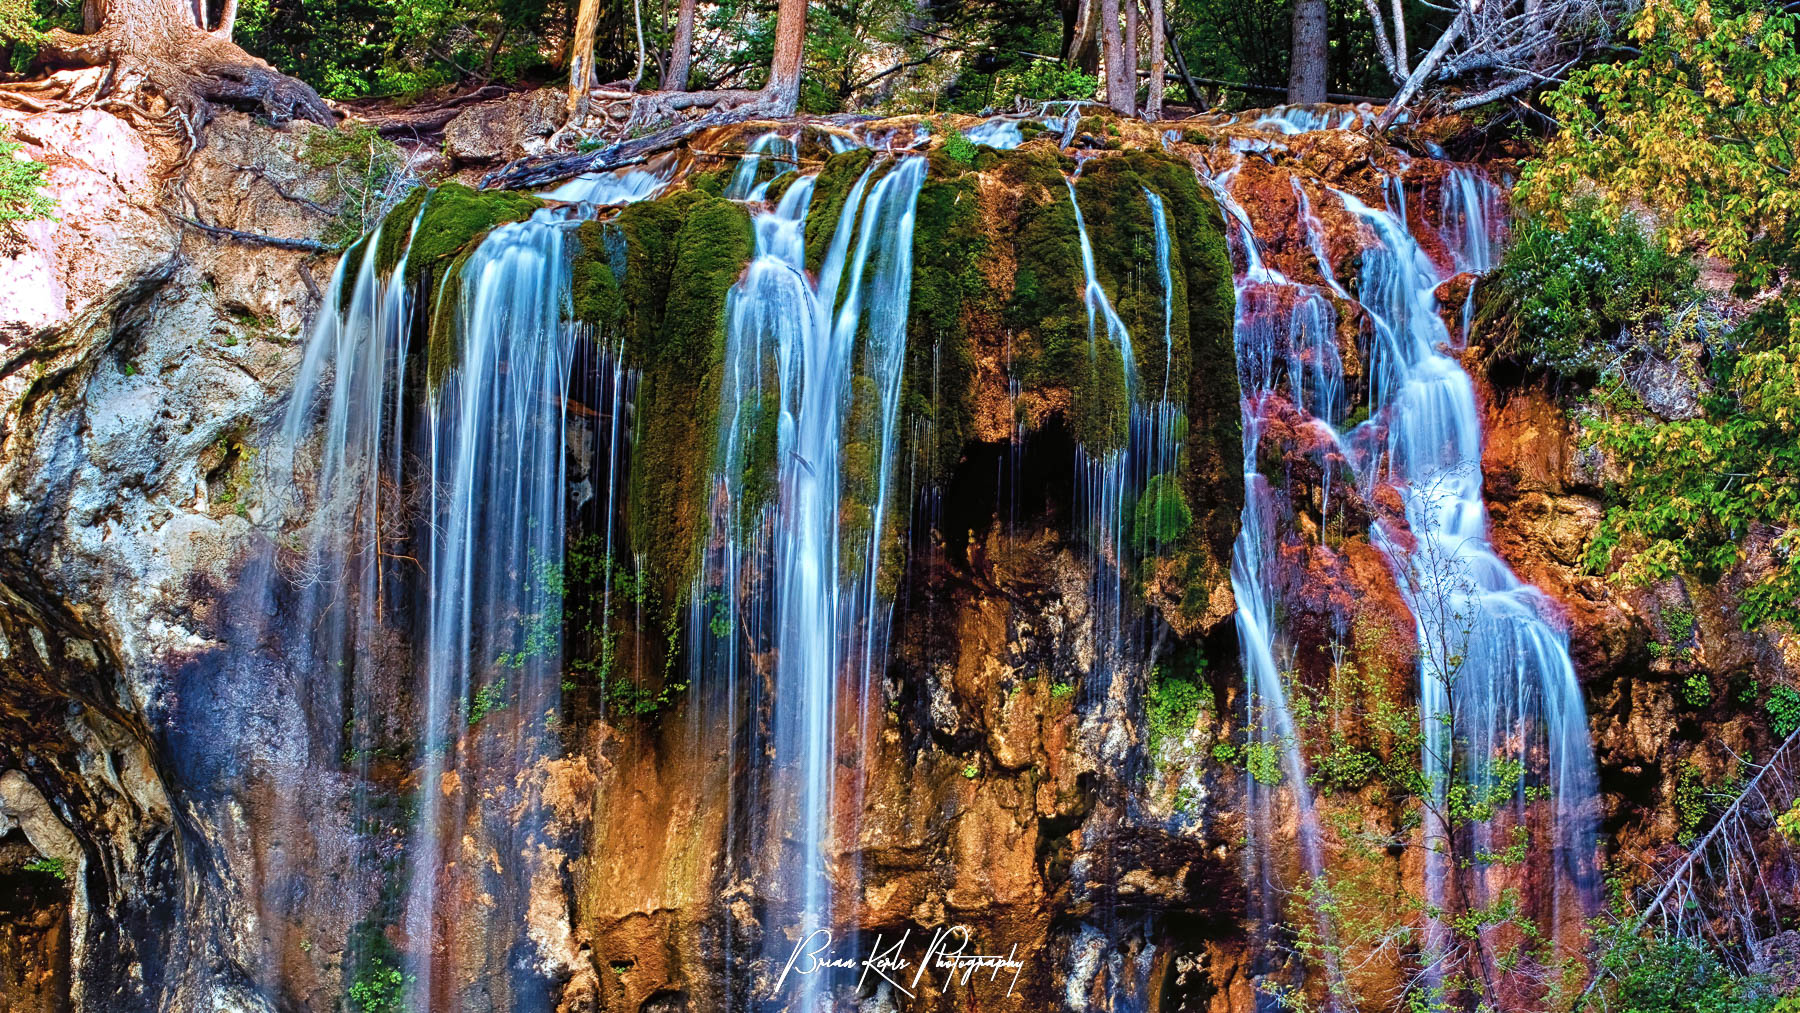
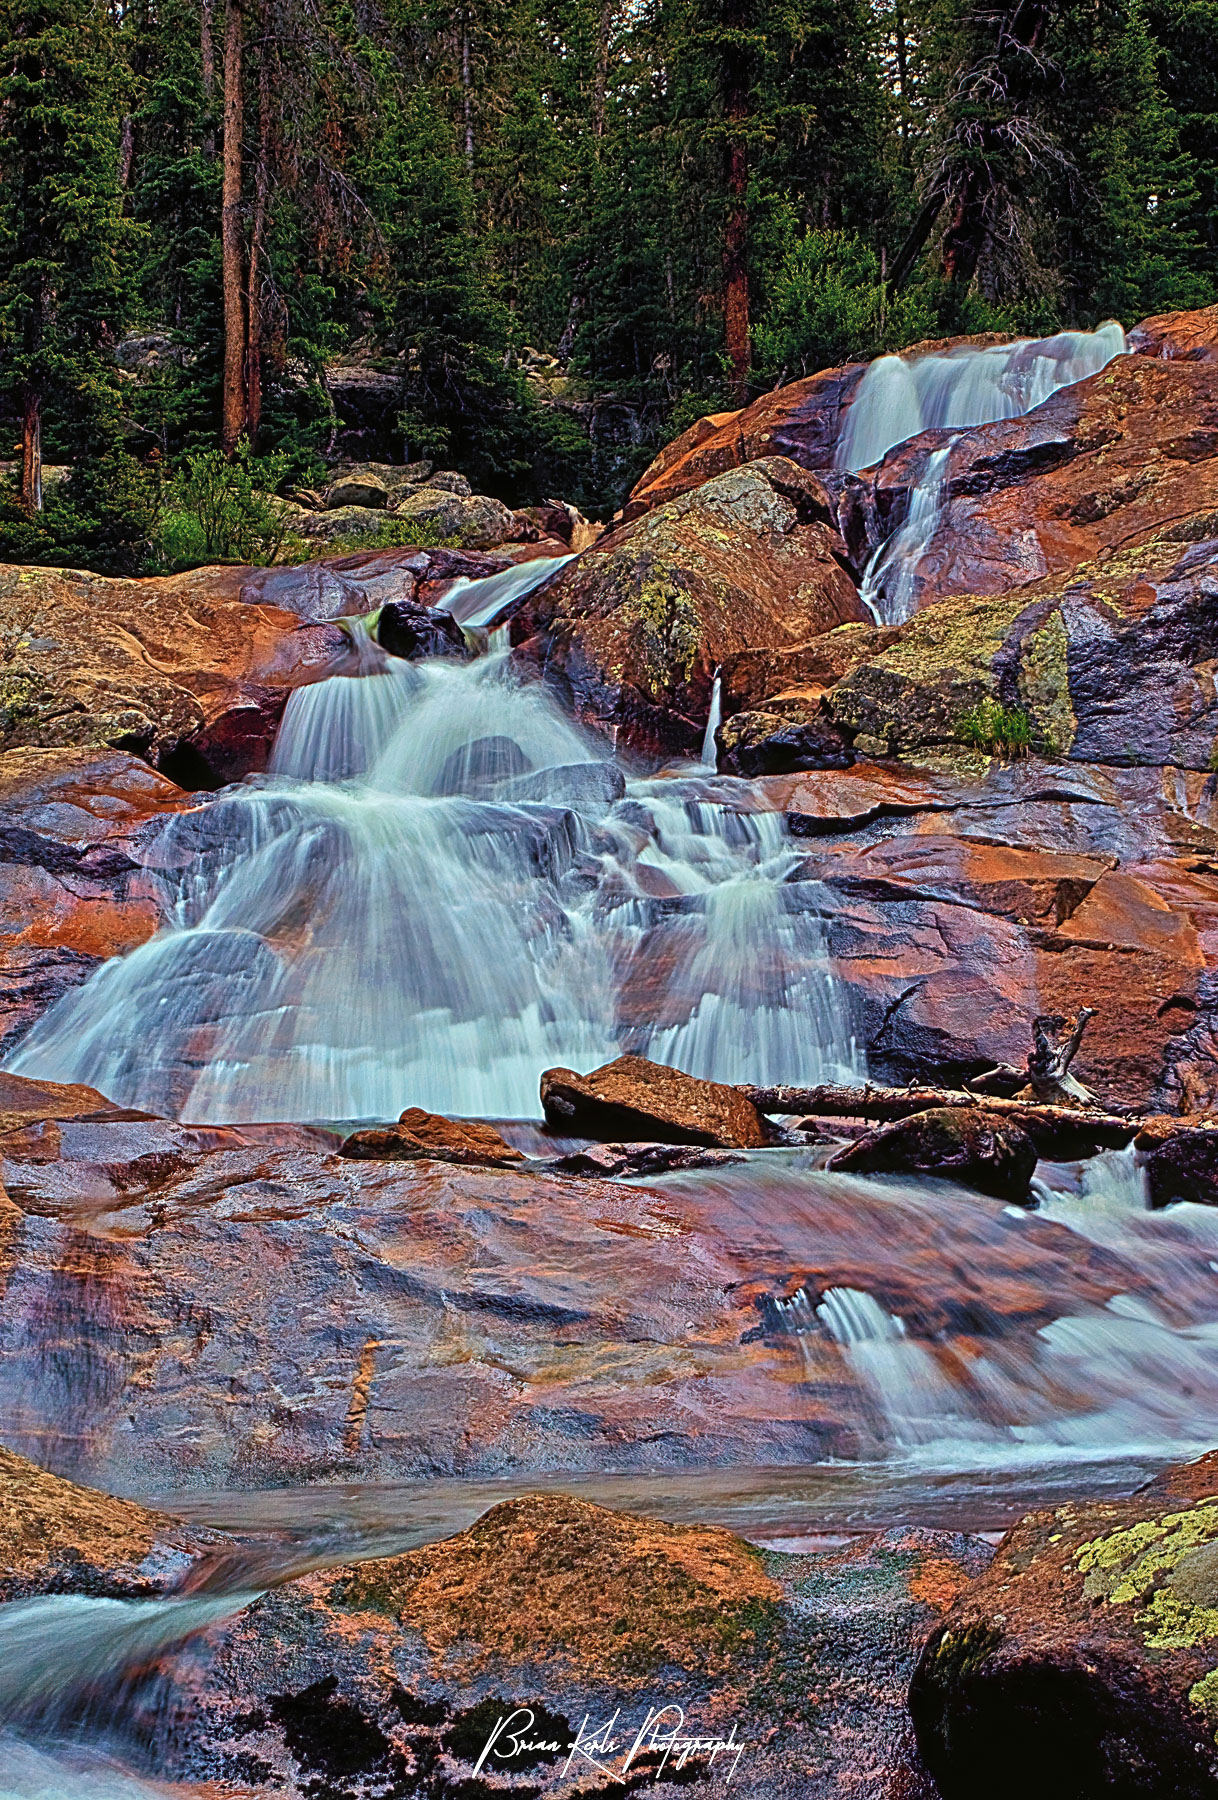
Waterfalls are some of the more beautiful natural features on earth and make striking landscape and nature photography subjects. While they can look simply stunning, photographing waterfalls well can be challenging as they are often in tricky lighting situations and are a moving, dynamic subject. I’m often asked “how do I photograph waterfalls?’ and in this post I’ve provided 7 tips to help you get the best results when you’re photographing waterfalls.
- Check the Weather Forecast:
Obviously, weather is always a factor for nature and landscape photographers and it can have even greater influence when photographing waterfalls. Balanced and diffused light is great for waterfalls as it enhances details in the shadows and amplifies the contrast. Since clouds act as natural diffusers, cloudy, overcast days typically produce the best results when shooting waterfalls.
Waterfalls generally don’t photograph well on bright, sunny days due to the greater likelihood of harsh glares and reflections and blown out highlights in the water. If you can’t wait for a cloudy day using a filter that cuts down the amount of light entering your camera can help. A polarizing filter can limit reflections as well as some of the light coming through and neutral density (ND) filters reduce the light reaching the camera’s sensor – similar to putting on sunglasses. While not substitutes for good lighting conditions, the use of filters can help your results in challenging conditions.
- Go At the Right Time:
Pay attention to both the season and the time of day when photographing waterfalls. A waterfall’s appearance can vary dramatically from season to season. A rushing alpine waterfall fed by melting snow in the spring can turn into just a trickle with warmer temperatures later in the summer. In the winter, you may find ice and snow around the falls and in some cases the waterfall may completely freeze over. Doing a little research in advance can ensure you visit when the waterfall is running strong enough. Depending on the nature and location of the waterfall, you may consider photographing it at different times throughout the year to document the impact of the seasons and add variety to your landscape photography portfolio.
Choosing the right time of day helps ensure the most favorable light, provides more options for longer exposures, and can greatly improve your waterfall photographs. Around sunrise and sunset are obvious times for outdoor photographers as the light is softer and less harsh. Overcast or cloudy days are excellent, as the diffused light improves the details in the falls and enhances the colors of the surrounding landscape. Shadows can complicate lighting conditions as many waterfalls are at the base of high rock walls or cliffs or surrounded by lots of trees. The worst time to photograph a waterfall is when half of it is in the shade and the other half is in sunlight. Camera’s just don’t handle this type of contrast well.
Make an effort to get to know the layout of the waterfall that you will be photographing so you can anticipate the light’s impact on your composition when you plan to visit. The Photographer’s Ephemeris (TPE) is a fantastic tool for planning outdoor photography in natural light. It allows you to see how light will fall on the land at any time, day or night, anywhere on earth.
- Bring the Right Gear:
Aside from your camera and lens, a tripod is your most important piece of gear when photographing waterfalls. While a good tripod is helpful in a variety of landscape photography situations, it is essential for a steady and sharp waterfall photograph. This is especially true if you’re looking for an image with silky smooth water as it’s not possible to hand-hold the camera at the low shutter speeds required to blur the moving water without introducing camera shake.
Neutral Density (ND) filters can help you get the blurred, silky-smooth water look that is popular with long exposure waterfall photos. An ND filter reduces the amount of light reaching the sensor, allowing for longer shutter speeds without overexposing, especially in brighter conditions. There are many different ND filters available and they vary by how much light they light through, ranging from the minimal reduction of an ND 0.3 (1- stop) all the way up to the fairly dark ND 3.0 with a 10- stop reduction.
If you don’t have a neutral density filter, you can often still achieve the look of silky-smooth water by using the lowest ISO your camera will allow and a small aperture (f/16-f/22) to slow down the shutter speed enough for a long exposure shot. Of course, the impact of these settings depends upon the lighting conditions, and will be less effective in brighter conditions.
A polarizing filter can eliminate reflections on the water and rocks, saturate the greens around the waterfall, and reduce the amount of light entering your lens – useful with lower shutter speeds when blurring the water.
Take along both a wide-angle and a telephoto zoom lens to increase your composition options when shooting waterfalls. Wide angle lenses are great for including the waterfall in its overall context or if you’re able to move in close to the action. Zoom lenses allow for tightly cropped impactful shots focused on one small segment or detail of the waterfall.
Depending upon how close to the falls you are and how much water is flowing I would also recommend having some lens wipes and a microfiber cloth along to keep your equipment clean and dry.
- Experiment With Different Shutter Speeds:
One of the more common questions about photographing waterfalls is what shutter speed to use. Anytime you encounter a moving subject a photographer has two options, both of which will have a big impact on the end result. You can freeze the motion with a fast shutter speed or capture and enhance the motion by utilizing a longer shutter speed that blurs the moving element.
The look of silky-smooth water popular in many waterfall photographs today is accomplished by using long exposures with slow shutter speeds to blur the movement of the water. The silky water is appealing and pleasing to the eye and adds drama to the waterfall image. To achieve this effect:
- Use a tripod to steady the camera and reduce unwanted vibration or shaking
- Select a smaller aperture (f/16 or smaller) which will decrease the amount of light passing through the lens helping you achieve a longer exposure and keeping everything in sharp focus.
- Choose the lowest ISO speed on your camera. While helping to achieve a slower shutter speed, the lower ISO will also produce less noise and capture more dynamic range.
- Start with a shutter speed of 1 second. There is no one shutter speed that will work for all waterfall photographs and finding the right shutter speed to make the water silky smooth will involve a little experimentation. Be prepared to use shutter speeds ranging from 1 to 30 seconds.
- Add polarizing or neutral density filters as needed based on lighting conditions to reduce reflections and limit the light reaching the camera sensor to extend the shutter speed.
While the effect of silky-smooth moving water in your photographs is hard to resist its not the only type of waterfall image you can capture. Shoot some waterfall photographs with a fast shutter speed to freeze the moving water. This can be a powerful technique on raging waterfalls with lots of spray and powerful splashes. The larger aperture that goes along with the faster shutter speed will narrow the depth of field and add new impact to your photos.
5. Be Creative With Your Perspective:
Don’t set up your tripod right away when you reach the falls. Walk around the waterfall and explore. Observe the different ways the water flows. In some places it may be multiple streams, in others it will gush explosively or flow gently in a single stream. Look through the viewfinder and discover different angles and camera positions. Depending upon the surrounding landscape, consider shooting the waterfall from a side angle, from above, or in rare cases even from behind the falls, rather than from directly in front. Experiment with wide-angle shots that put the waterfall into its wider context and zoom in closer with a telephoto lens to focus more closely on the waterfall itself. Try a variety of positions and angles around the waterfall as even a subtle shift in your perspective can have a dramatic impact on the result.
6. Include Foreground Interest:
Adding foreground interest in your composition is a good practice with landscape photography in general and can be the extra element that elevates a good waterfall photograph to a great one. When photographing waterfalls its easy to get caught up in the falling water and forget about the possibility or need for foreground interest, however a close foreground captures the viewer’s attention, provides a sense of depth, context, and scale, and compliments the main subject – the falls. At most locations you can include rocks, fallen trees, nearby wildflowers or lush foliage, autumn leaves, or winter snow and ice for foreground interest. It is typically easier to include these elements in your foreground when shooting from the bottom of the falls. While every waterfall photograph doesn’t need to include foreground elements, its an important option to keep in mind when composing your waterfall image.
7. Bracket Your Shots:
Take several photographs of the same waterfall landscape using different exposures to account for the lightest and darkest areas in the scene and blend them together in Photoshop. The various exposures can then be combined in Photoshop for natural, even results. Bracketing your photos is a good practice as waterfalls can have tricky lighting and shadows. A waterfall may be located in an area deep in shadow and exposing for the falls could overexpose other areas in the photograph. By using exposure bracketing and blending the photos in Photoshop you can achieve a balanced exposure in the final product despite the challenging lighting.
For more amazing fine art waterfall and Colorado landscape photos to enhance your home, office, or corporate walls please be sure to check out my galleries for wall art photo prints available for purchase.
Loved what you just read?
Become a VIP Insider and get more of the good stuff – exclusive tips, insider updates, behind-the-scenes stories, and special promotions delivered straight to your inbox.
Don’t miss out—our VIP members get the best of everything first


