Golden hour is a term used by photographers to describe the period of time just after sunrise or just before sunset when the light is soft and warm. This time of day is known for producing stunning landscape photos due to how the light takes on brilliant red, orange, pink, and purple hues and interacts with the scenery. Around sunrise and sunset, light is less bright, more diffuse as it bounces off the entirety of the sky, and comes in at a shallower angle which is more flattering than the harsh overhead light of midday. Golden hour can enhance the beauty an appeal of most any photograph from a sweeping mountain vista at sunrise to a cityscape skyline at sunset. Stay tuned as we explore the magic of golden hour and share a few tips on how to capture stunning sunrise or sunset landscape photos.
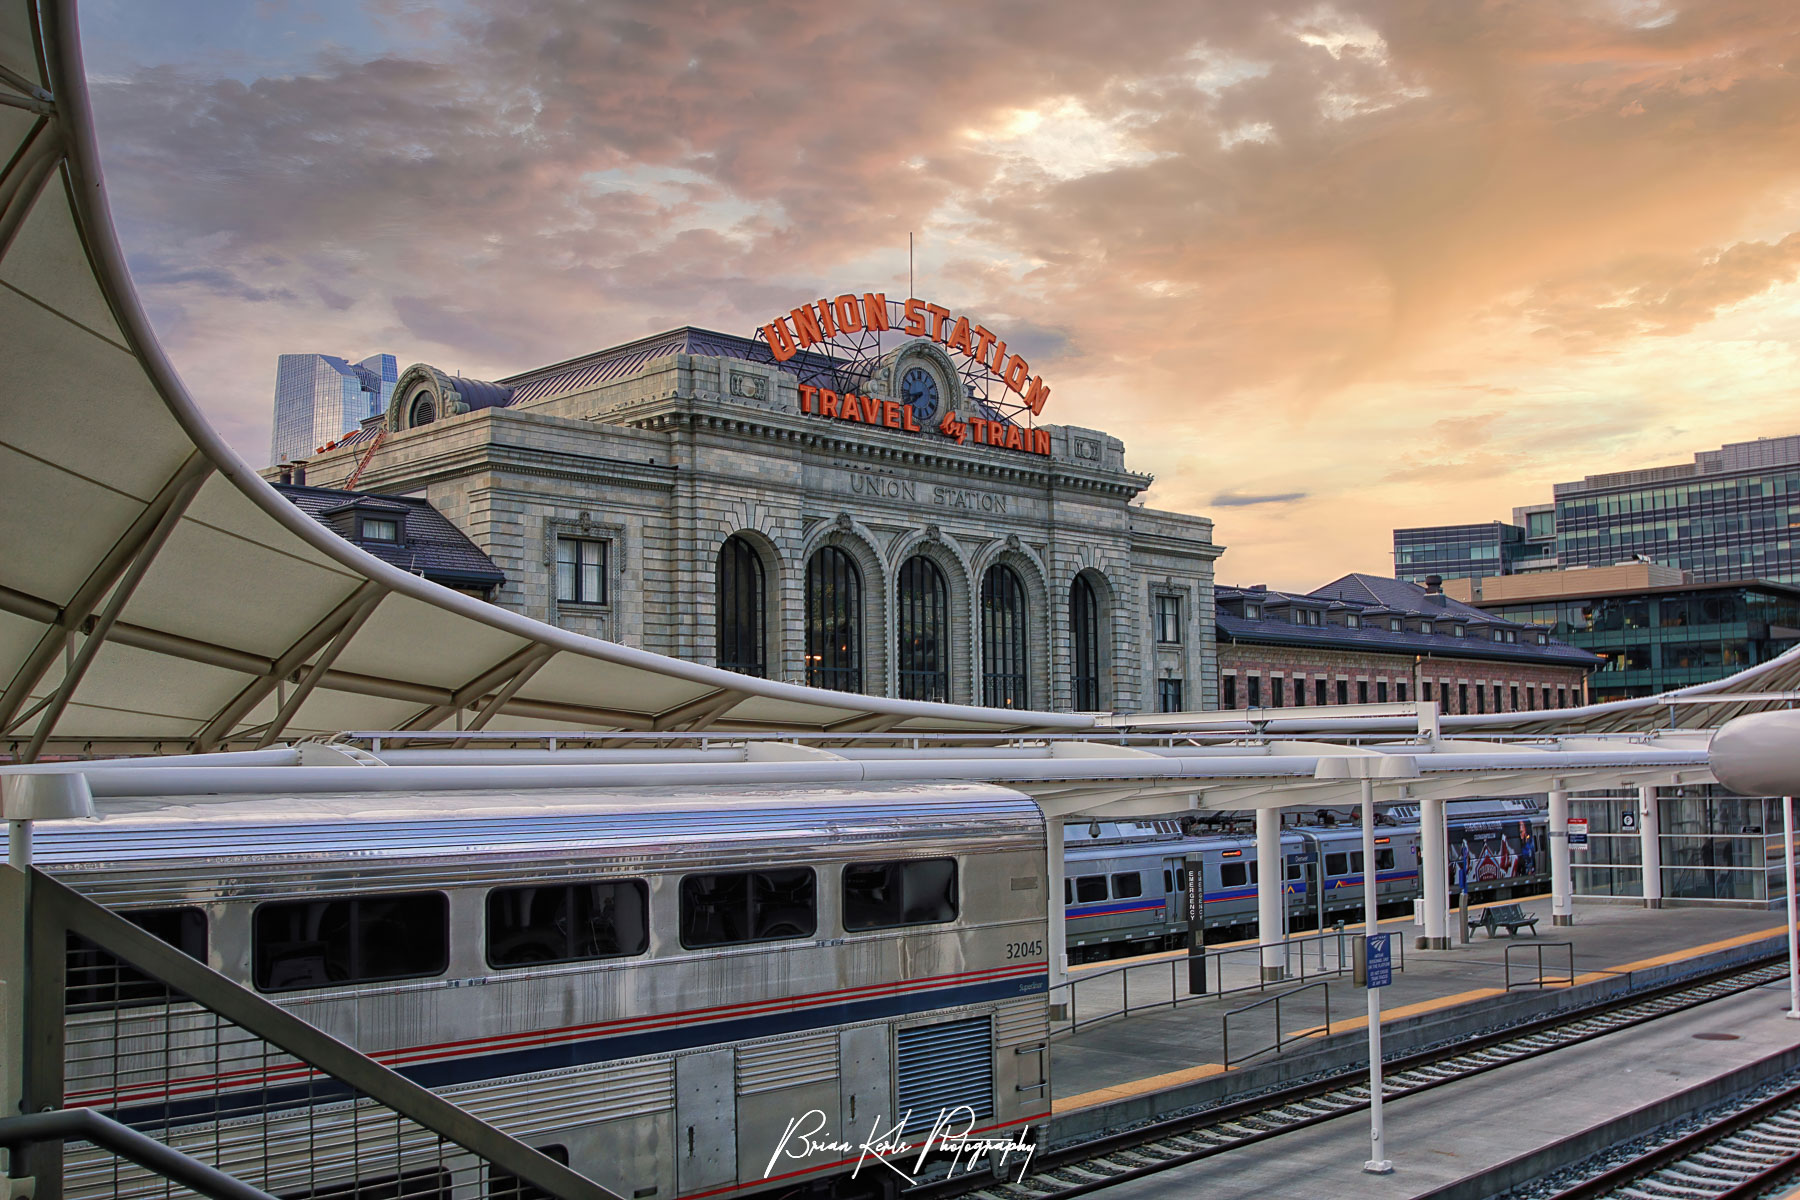
Timing is Everything: The first step in capturing stunning landscape and nature photos during golden hour is to plan ahead. Golden hour only lasts for a short period of time, so it’s important to know when the sun will rise or set in your location and the direction the light will fall on your subject or scene. There are many apps and websites available that can help you determine the exact time of golden hour. I like to use The Photographer’s Ephemeris which shows how the light will fall on the land, day or night, for any location on earth, as well as Google Earth to know the route and topography before you go. If you’re shooting a golden hour urban or cityscape scene be sure to account for how the layout of the city streets and surrounding buildings will impact the light.
Use a Tripod: During golden hour, the light is often low, and you’ll need a slow shutter speed to capture the scene properly. To avoid blurry photographs, it’s important to use a tripod to keep your camera steady. This will also allow you to experiment with different shutter speeds and aperture settings without worrying about camera shake. While it does require a bit more effort to carry around and set up, nearly all of my landscape and cityscape photos are shot on a tripod to ensure the sharpest images.
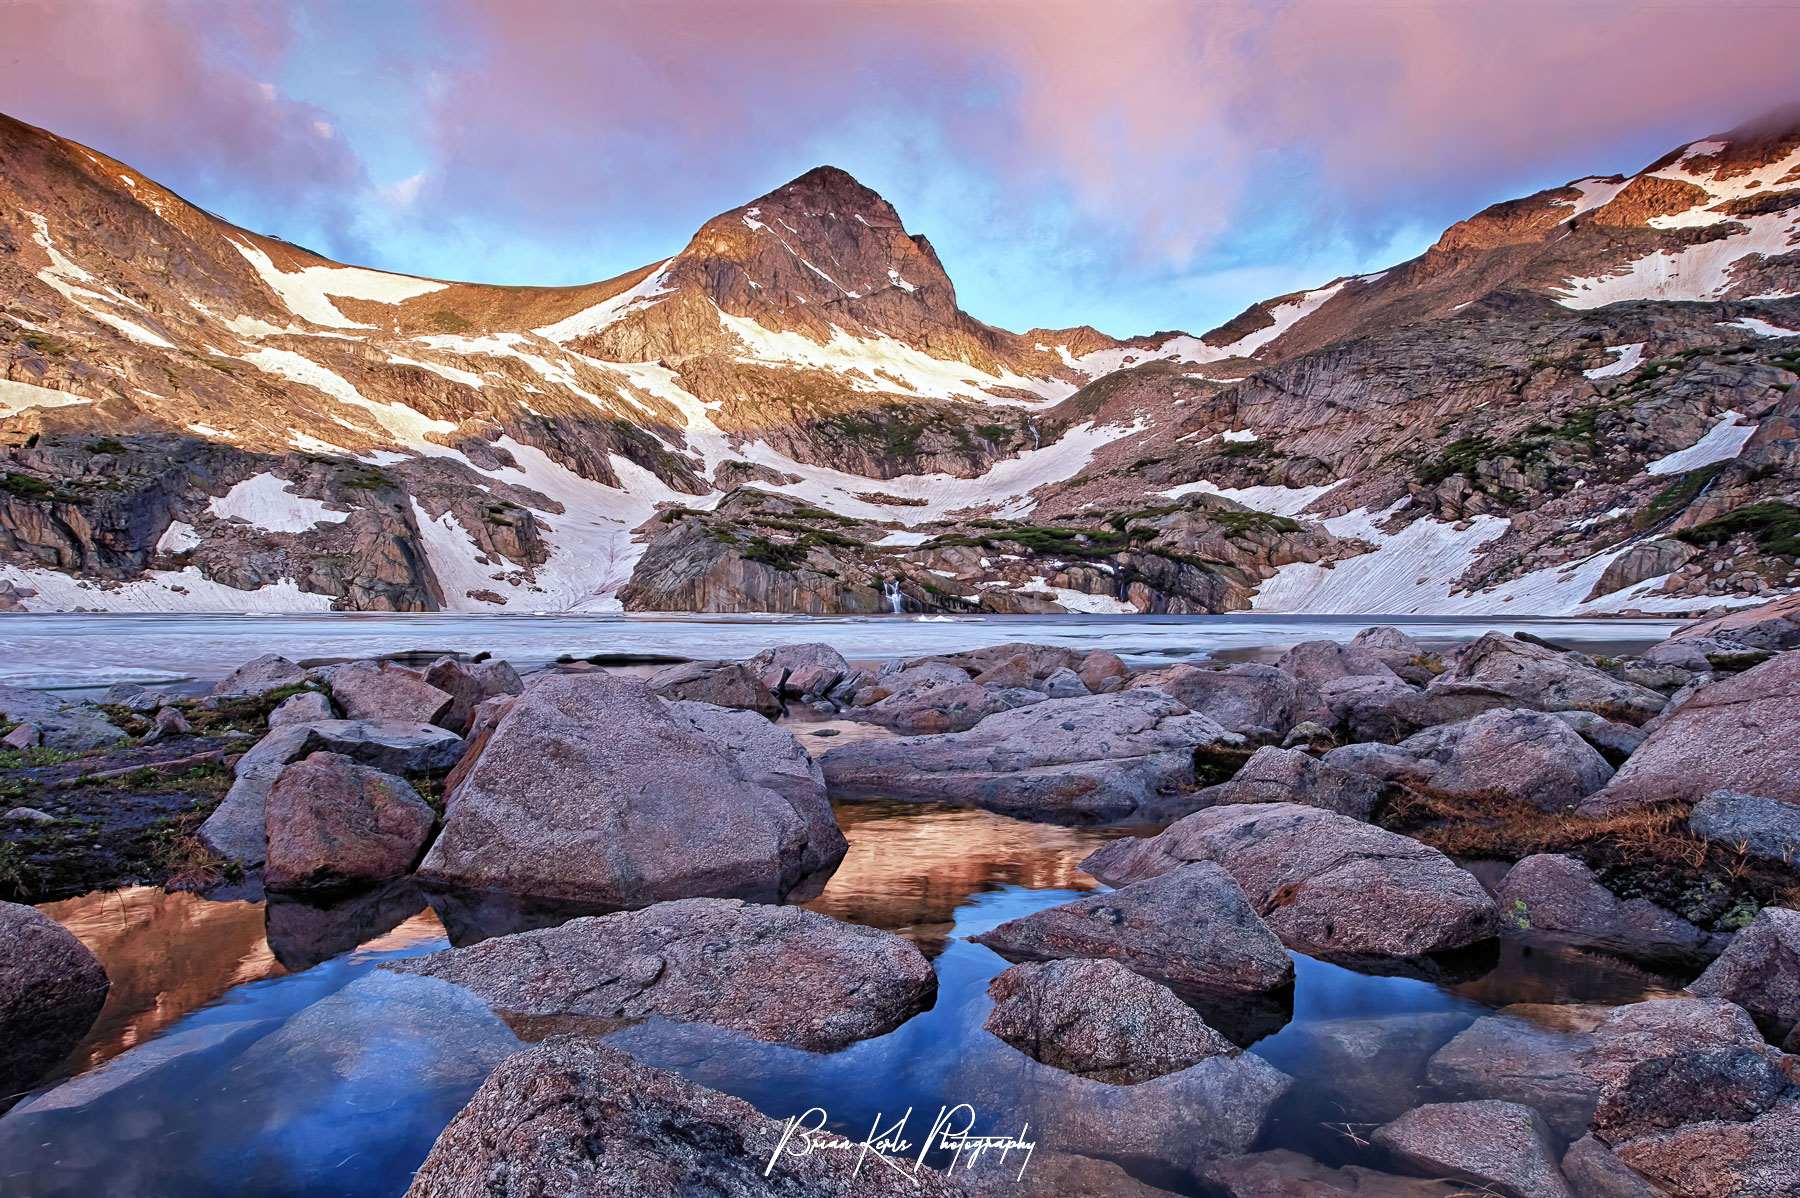
Experiment with Different Angles: During golden hour, the light is constantly changing, and you can use this to your advantage by experimenting with different angles in your composition. Try shooting from a low angle to capture the golden light reflecting off the water or highlighting other foreground elements. Shoot from a higher angle to capture the golden light hitting the tops of the trees or mountain peaks. Remember that sunrise and sunset produce great light all around, not just in the direction of the sun, so be sure to look for interesting compositions behind you and off to the sides as well.
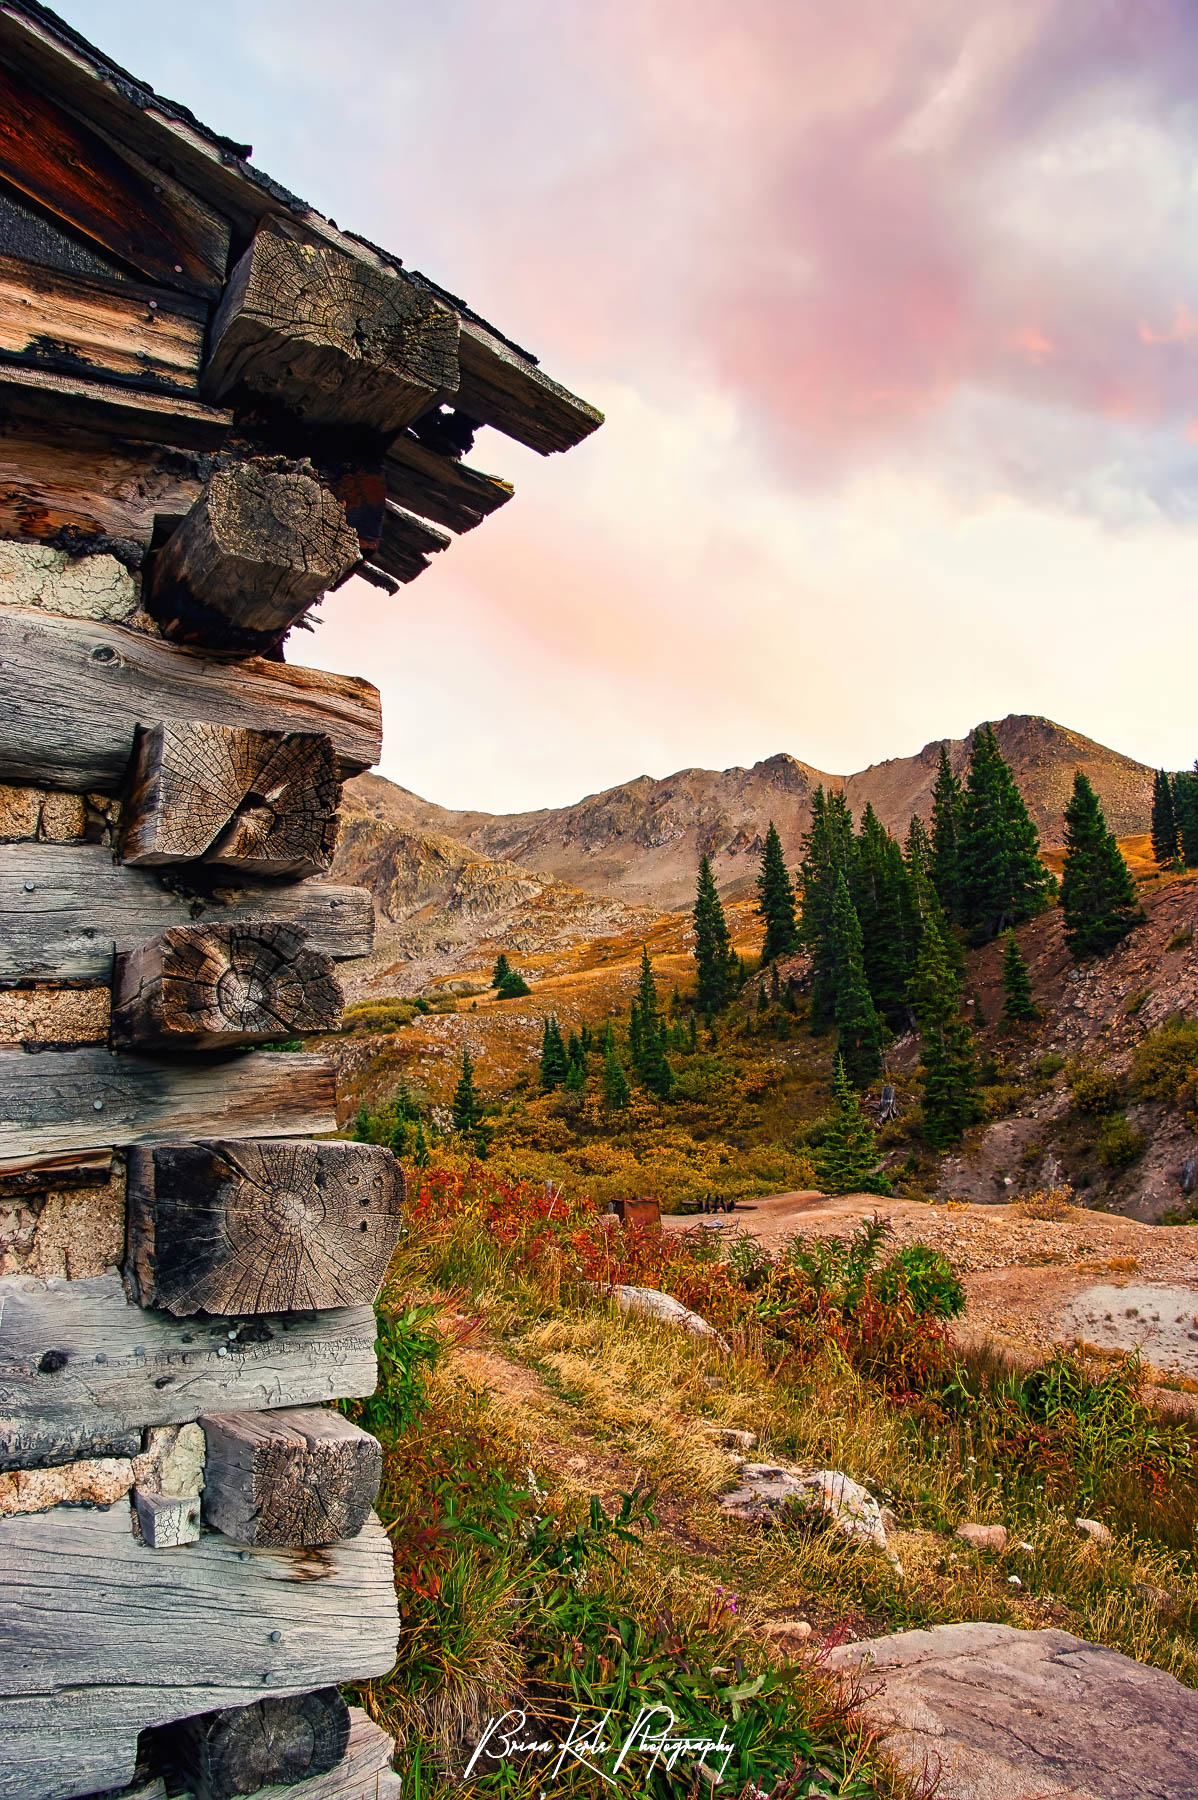
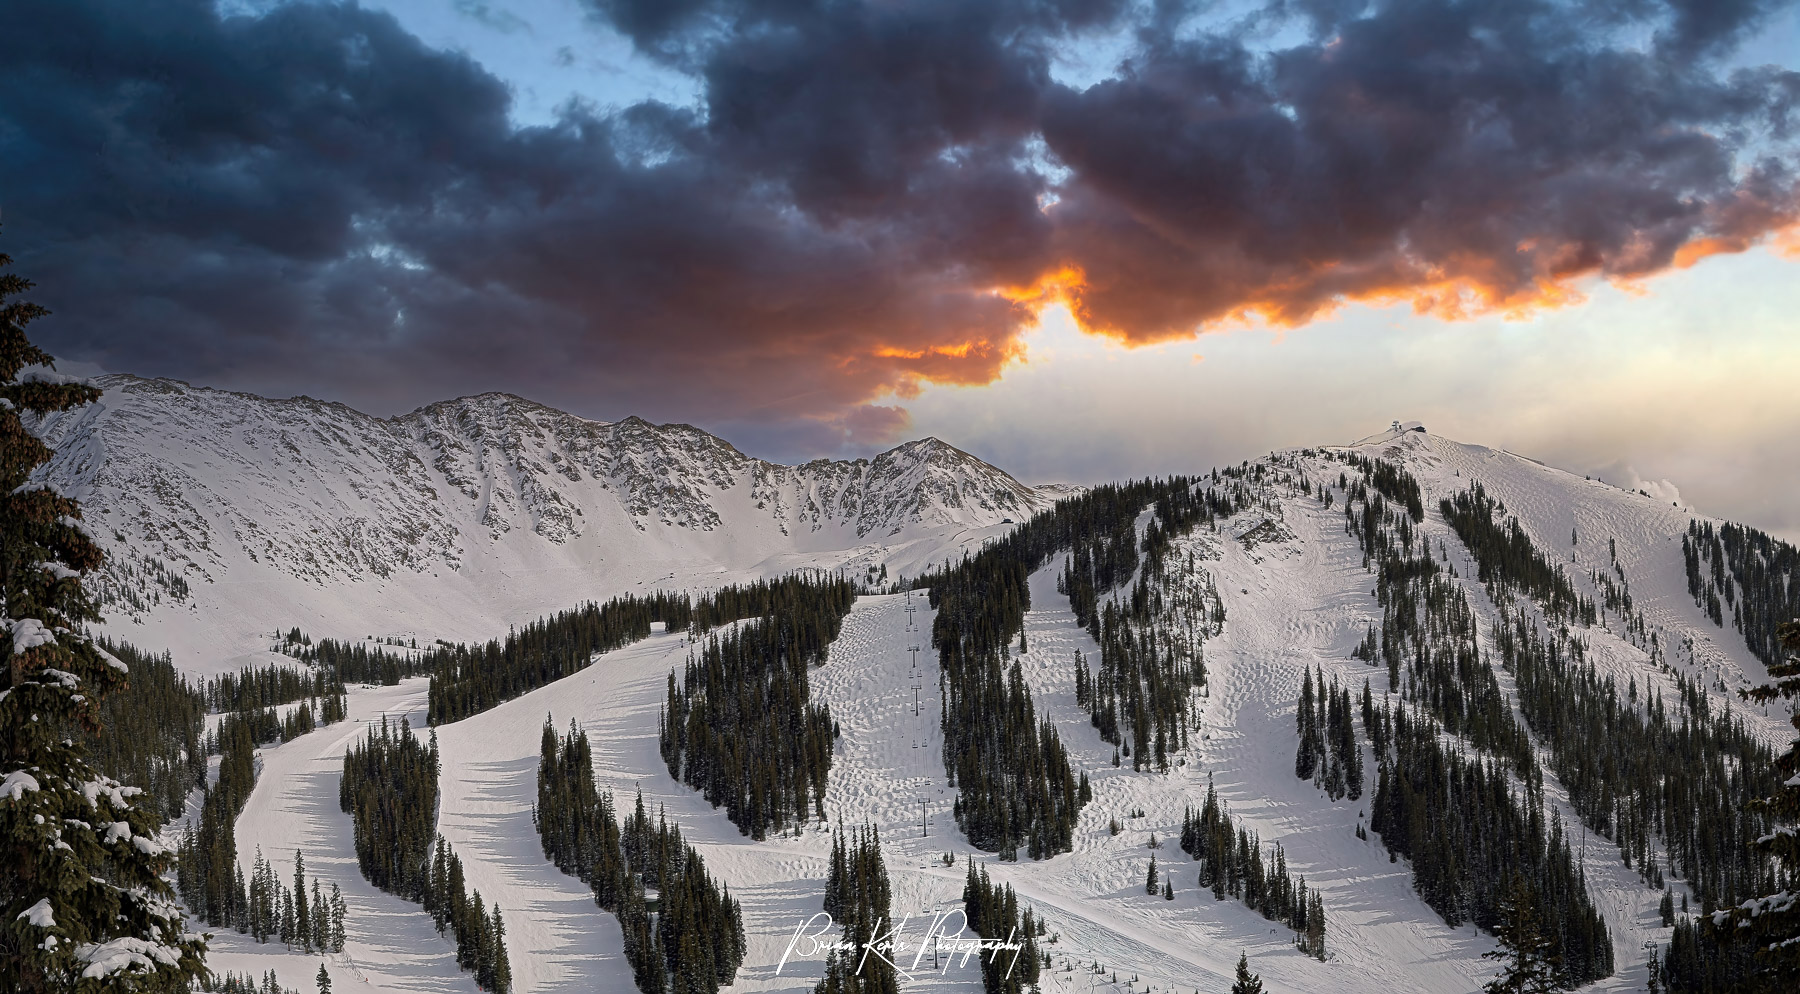
Focus on the Details: Golden hour is a great time to focus on the small details in a landscape. Try focusing on a flower, a rock, or a tree branch, and use the golden light to create a stunning and dramatic effect. Be on the lookout for high clouds too. There is a very small window of time when the sunset or sunrise illuminates all of the clouds in the sky, usually just after sunset or sunrise. At this point in time, the sun’s light is coming from an angle underneath the high clouds and the color of the clouds changes quickly and dramatically, but if you time it right, you can get brilliant colors.
Use Filters and Be Mindful of White Balance When Editing: Filters can be used to enhance the colors and tones in your photos during golden hour. A graduated neutral density filter can help balance the exposure between the sky and the foreground, while a polarizing filter can help reduce glare and make colors more vibrant. When you go to edit your image in Lightroom or Photoshop, you may notice some dramatic differences between the foreground and background colors. The foreground may be more blue, with more orange in the sky. As our cameras can only meter for one or the other, its important to learn how to adjust for this in your photo editing software using layers or healing brushes. Typically, I will need to increase the color temperature of the foreground so that it blends well with background.
Keep Shooting: Golden hour is a time when the light is constantly changing, and you may only have a short window of time to capture the perfect shot. Keep shooting and experiment with different settings, angles, and compositions until you find the perfect shot.
The magic of golden hour is all about the way the light interacts with the landscape, creating a stunning and dramatic effect. By planning ahead, using a tripod, experimenting with different angles, focusing on the details, using filters, and just continuing to shoot, you can capture stunning landscape, nature, or cityscape photos during this magical time of day.
Loved what you just read?
Become a VIP Insider and get more of the good stuff – exclusive tips, insider updates, behind-the-scenes stories, and special promotions delivered straight to your inbox.
Don’t miss out—our VIP members get the best of everything first